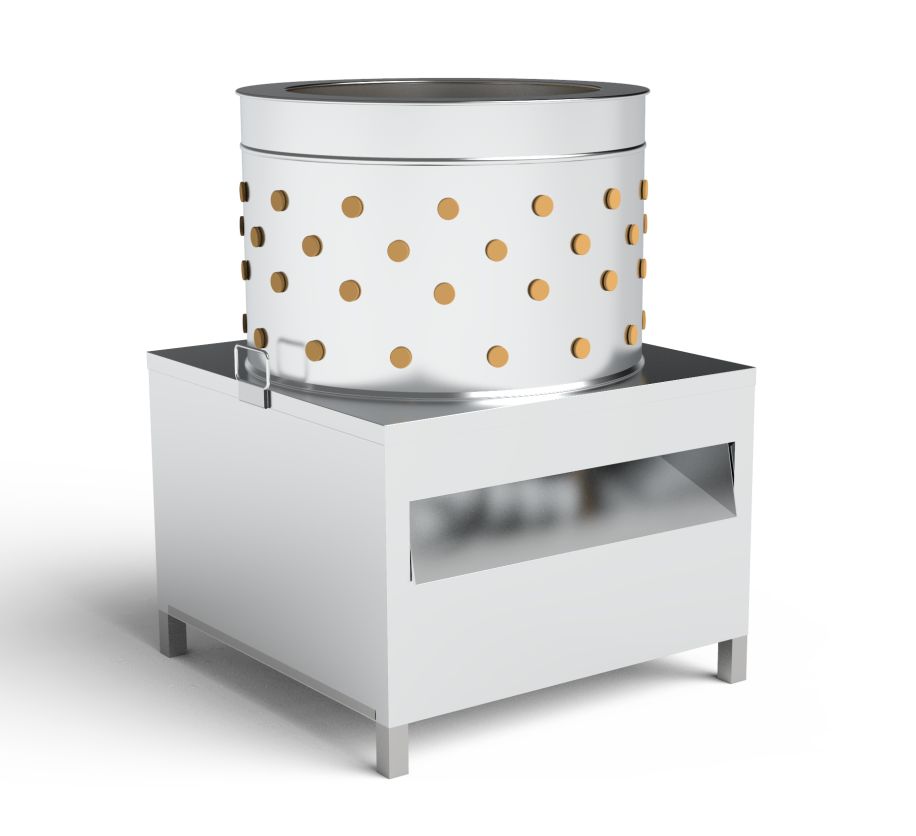
homemade quail plucker
Nov . 21, 2024 09:28 Back to list
homemade quail plucker
Homemade Quail Plucker A Step-by-Step Guide
If you're an avid quail hunter or a rural homesteader looking to process your own birds, one essential tool to consider is a quail plucker. Unlike larger poultry, quails present a unique challenge when it comes to plucking. Their size means that traditional plucking methods can be tedious and time-consuming. Building a homemade quail plucker can streamline this process while saving you money. In this article, we'll explore how to create one from scratch.
Why Build Your Own Quail Plucker?
Purchasing a commercial quail plucker can be expensive and may not be justifiable if you only process a small number of birds. A homemade solution allows you to customize the design to meet your specific needs. Plus, the satisfaction of building something useful adds an element of pride to your homesteading efforts.
Materials Needed
To construct a basic homemade quail plucker, you’ll need the following materials
1. Plastic Drums or Tub This will serve as the plucking drum. 2. Motor A small electric motor to drive the plucking mechanism. A washing machine motor works well. 3. Rubber Fingers You can buy these or make them from rubber tubing. These will do the actual plucking. 4. Wood or Metal Frame To support the drum and motor. 5. Power Source Ensure you have the right power supply for your motor. 6. Switch For turning the motor on and off. 7. Wiring To connect your motor to the power source and switch.
Step-by-Step Instructions
Step 1 Create the Plucking Drum
Start by selecting a sturdy plastic drum or tub. The size should be able to accommodate at least three or four quails at a time. Cut a hole in the top for insertion of the birds and another hole on the front for easy access after plucking. Make sure the edges are smooth to prevent injury.
Step 2 Attach the Rubber Fingers
homemade quail plucker

Insert the rubber fingers at regular intervals along the inside of the drum. They should be long enough to reach the quail but not so long that they cause damage to the skin. Remember to space them evenly to maximize the plucking action.
Step 3 Construct the Frame
Build a frame out of wood or metal to support your drum and motor. The frame should be sturdy enough to absorb the vibrations from the motor during operation. Ensure it’s slightly elevated to allow for easy access to the drum.
Step 4 Install the Motor
Mount the motor to the frame in a way that it can effectively rotate the drum. Connect the motor to the plucking drum using a belt or pulley system, ensuring everything is secure and aligned properly.
Step 5 Wiring
Wire the motor to your power source and switch. Make sure all connections are safe and secure. Double-check your system to prevent any electrical hazards.
Step 6 Testing
Before you start processing quails, test your plucking machine with a rubber chicken or another object. This can help you ensure that everything is functioning correctly. Adjust the motor speed as necessary for optimal plucking without damaging the birds.
Conclusion
A homemade quail plucker can greatly enhance your hunting and processing experience, making it quicker and more efficient. Not only will it save you time, but it will also allow you to process quails at home in a more streamlined manner. With some basic materials and a bit of effort, you’ll have a handy tool that will serve you well for many seasons to come. Happy plucking!
-
Hot Sale 24 & 18 Door Rabbit Cages - Premium Breeding Solutions
NewsJul.25,2025
-
Automatic Feeding Line System Pan Feeder Nipple Drinker - Anping County Yize Metal Products Co., Ltd.
NewsJul.21,2025
-
Automatic Feeding Line System Pan Feeder Nipple Drinker - Anping County Yize Metal Products Co., Ltd.
NewsJul.21,2025
-
Automatic Feeding Line System - Anping Yize | Precision & Nipple
NewsJul.21,2025
-
Automatic Feeding Line System - Anping Yize | Precision & Nipple
NewsJul.21,2025
-
Automatic Feeding Line System-Anping County Yize Metal Products Co., Ltd.|Efficient Feed Distribution&Customized Animal Farming Solutions
NewsJul.21,2025


