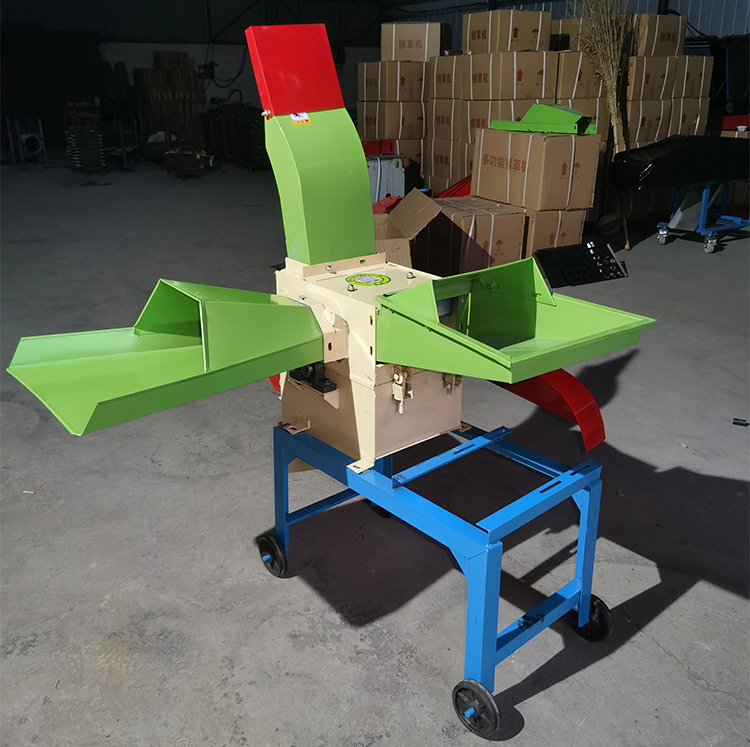
homemade chicken plucker washing machine
Dec . 12, 2024 09:57 Back to list
homemade chicken plucker washing machine
Homemade Chicken Plucker Washing Machine A DIY Guide
When it comes to processing chickens at home, efficiency and cleanliness are paramount. One of the biggest challenges is feathers; they can be messy and time-consuming to remove. A chicken plucker washing machine can solve this issue by automating the plucking process while keeping in mind hygiene standards. In this article, we will explore how to create a homemade chicken plucker washing machine that not only helps in cleaning the chickens but also saves time and effort.
Understanding the Basics
A chicken plucker machine works by using rubber fingers or paddles to grab and pull out the feathers from the chicken's skin. Instead of hand-plucking, which can take a significant amount of time, a machine effectively removes the feathers in a fraction of the time. By incorporating a washing element, you can also ensure that the birds are thoroughly cleaned before and after processing.
Materials Needed
Before you dive into the construction of your homemade chicken plucker washing machine, gather the following materials
1. Drum - A stainless steel or food-grade plastic drum will be necessary for the plucking chamber. 2. Motor - A 1/2 HP electric motor should work well for driving the plucker mechanism. 3. Rubber Fingers - Purchase or make rubber fingers that will be attached to the drum; these will do the plucking. 4. Frame - Construct a sturdy metal frame to support the drum and motor. 5. Water Supply - You'll need a connection for a water source to facilitate washing. 6. Piping - For drainage and water supply, obtain suitable piping materials. 7. Control Switch - A basic control panel with an on/off switch for the motor. 8. Safety Features - A cover for the drum and emergency stop switch are essential for safety.
Step-by-Step Assembly
1. Build the Frame Start by constructing a robust frame that can hold the drum and motor. Ensure it is stable enough to handle the vibrations of the motor during operation.
2. Install the Motor Secure the electric motor to the frame. It should be aligned so that the drum can rotate smoothly when the motor is activated.
3. Attach the Drum Mount the drum securely on the frame. Ensure that it can rotate freely and that it is connected to the motor via a belt or direct coupling.
homemade chicken plucker washing machine

4. Install Rubber Fingers Attach rubber fingers evenly on the interior of the drum. These fingers will act as the primary plucking mechanism. Ensure they are securely fastened and spaced adequately to allow for efficient plucking.
5. Set Up Water Supply and Drainage Install water pipes to connect your washing machine to an external water supply. Consider adding a nozzle inside the drum to spray water on the chickens as they are being plucked. Create a drainage outlet at the bottom of the drum to prevent water from pooling inside.
6. Wiring Connect the motor to the control switch. Make sure to follow electrical safety standards. A GFCI (Ground Fault Circuit Interrupter) outlet is recommended to avoid electrical hazards.
7. Safety Cover Construct a safety cover for the drum to prevent injury while in operation. This should be securely fastened but easy to remove for cleaning.
Testing Your Machine
Once assembled, it’s time to test your homemade chicken plucker washing machine. Start the motor and ensure that the drum spins freely. Check for any vibrations that might indicate misalignment. Run a few test cycles with some feathers (without using actual birds initially) to observe how effectively the fingers pluck them away.
Final Adjustments
After testing, you may need to make some adjustments. The spacing of the rubber fingers, the speed of the drum, or even the amount of water sprayed may require tweaking to optimize performance.
Conclusion
Building your own chicken plucker washing machine can be a rewarding project that saves time and ensures the cleanliness of your poultry. By understanding the basics of how the machine works and carefully assembling the components, you can create a functional device that enhances your home processing efforts. Always prioritize safety and hygiene, and soon you’ll find yourself with a more streamlined approach to chicken processing. Enjoy the satisfaction of a job well done, knowing you’ve taken control of your food sourcing in an efficient and sustainable manner!
-
Automatic Feeding Line System-Pan Feeder Nipple Drinker|Anping County Yize Metal Products Co., Ltd.
NewsJul.29,2025
-
Hot Sale 24 & 18 Door Rabbit Cages - Premium Breeding Solutions
NewsJul.25,2025
-
Automatic Feeding Line System Pan Feeder Nipple Drinker - Anping County Yize Metal Products Co., Ltd.
NewsJul.21,2025
-
Automatic Feeding Line System Pan Feeder Nipple Drinker - Anping County Yize Metal Products Co., Ltd.
NewsJul.21,2025
-
Automatic Feeding Line System - Anping Yize | Precision & Nipple
NewsJul.21,2025
-
Automatic Feeding Line System - Anping Yize | Precision & Nipple
NewsJul.21,2025


