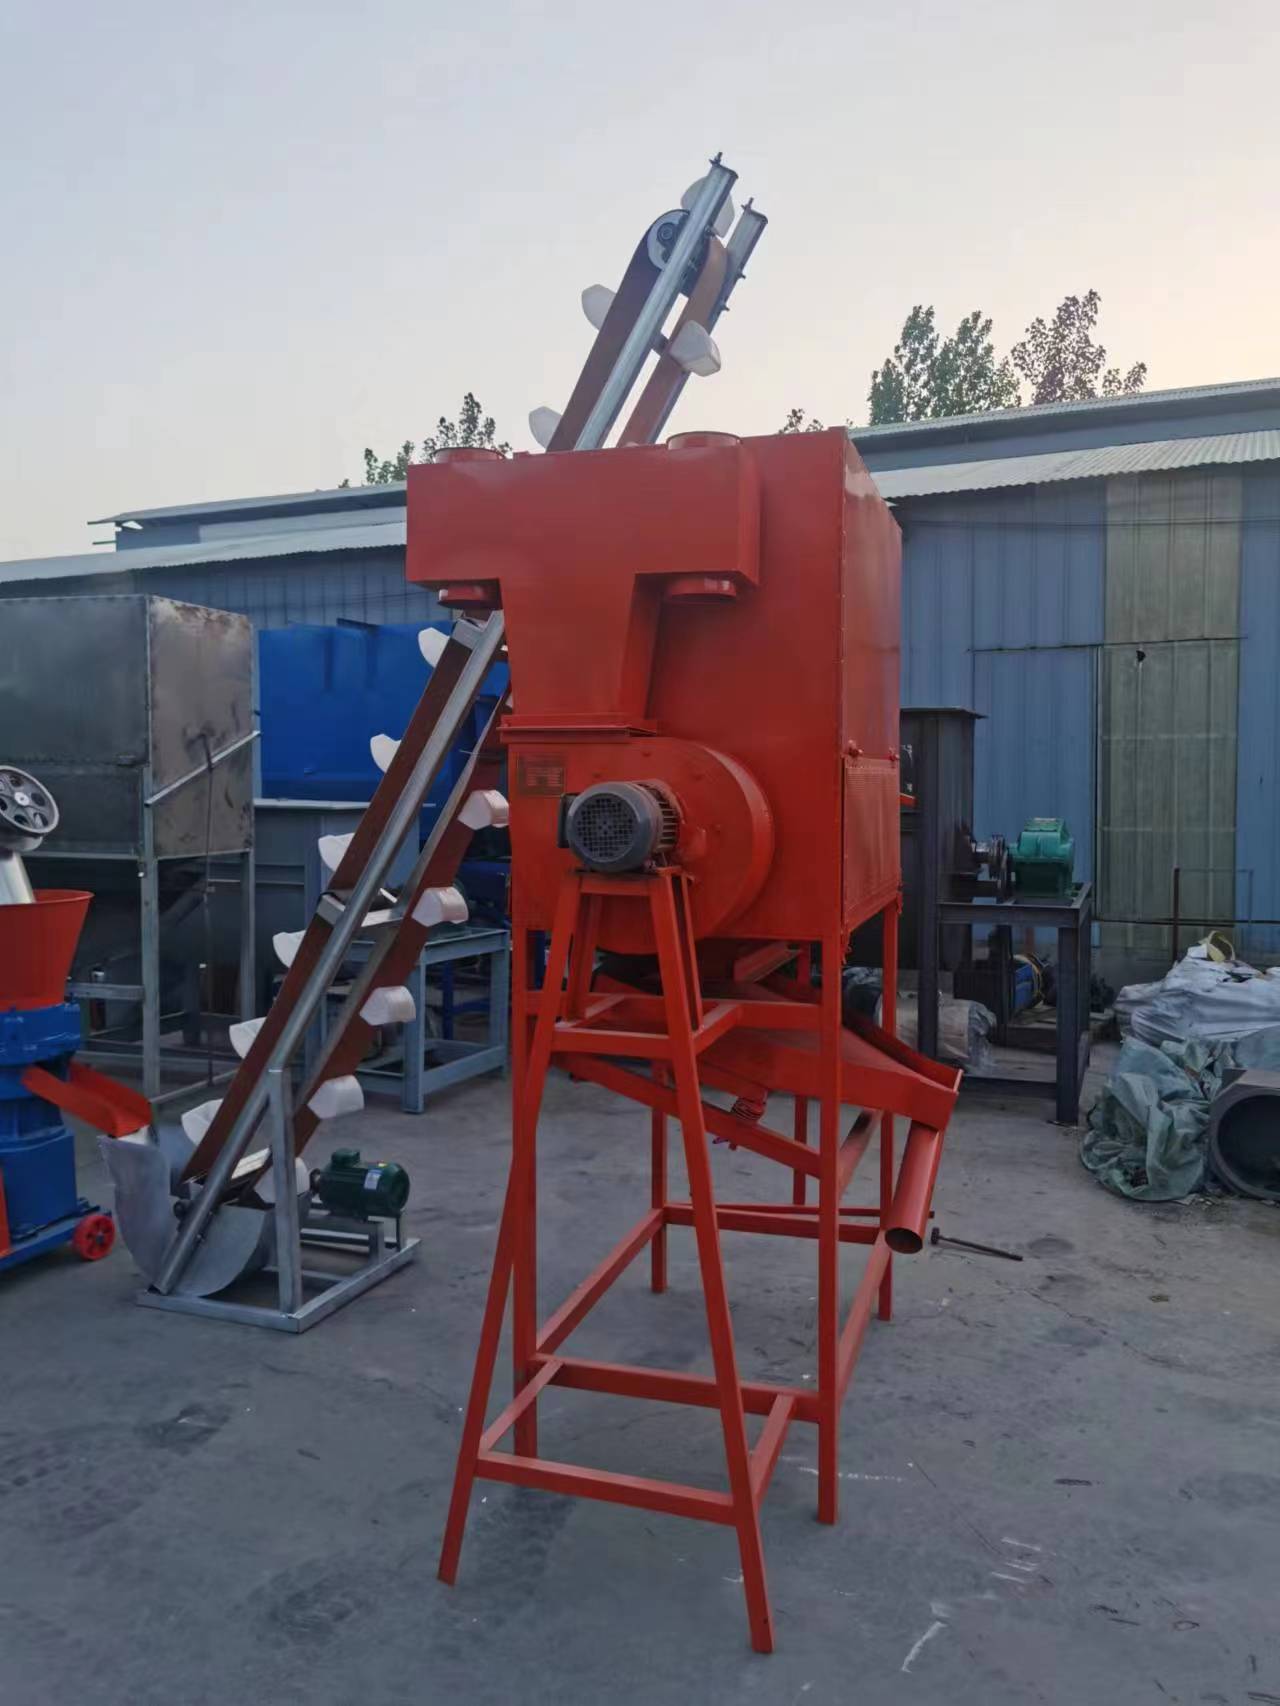
DIY Chicken Plucker Using a Washing Machine for Efficient Poultry Processing
Nov . 24, 2024 12:29 Back to list
DIY Chicken Plucker Using a Washing Machine for Efficient Poultry Processing
Homemade Chicken Plucker Washing Machine A DIY Guide for Effective Poultry Processing
Processing poultry at home can be a rewarding experience, especially when it comes to using your own homemade chicken plucker. This article will guide you through the process of creating a simple yet effective chicken plucker washing machine that will save you time and effort while ensuring your birds are cleaned efficiently.
Understanding the Need for a Chicken Plucker
When you raise chickens for meat or eggs, one of the most daunting tasks after slaughtering is plucking the feathers. Traditional methods involve hand-plucking, which can be labor-intensive and time-consuming. A chicken plucker, designed to remove feathers quickly, can significantly simplify this process. Creating your own provides a way to save money, while also tailoring the plucker to meet your specific needs.
Essential Materials and Tools
Before diving into the construction, ensure you have all necessary materials and tools on hand. Here’s a quick checklist - Drum A large, robust plastic or metal drum (preferably around 55 gallons) serves as the main body for your plucker. - Drilling machine For creating holes for rubber fingers. - Rubber fingers These are essential for plucking; they should be sturdy enough to withstand the action without damaging the skin. - Motor A small electric motor (around 1-2 horsepower) will provide the power you need to rotate the drum. - Belt and pulleys These will help in connecting your motor to the drum to facilitate rotation. - Water supply system Incorporate a system for spraying water inside the drum to keep the plucking action effective and clean. - Frame To cradle the drum and provide stability during operation.
Building the Plucker
1. Prepare the Drum Begin by taking your drum and drilling several holes along its inside wall. These holes will accommodate the rubber fingers, which will do the actual plucking. Ensure that the holes are adequately spaced for even feather removal.
homemade chicken plucker washing machine

2. Installing Rubber Fingers Insert the rubber fingers into the drilled holes. They should be flexible but firm enough to pull feathers without tearing the skin. You can buy these from farm supply stores or online.
3. Motor Setup Attach the motor to the drum via the belt and pulleys. Ensure that the motor is securely fastened, and the belt freely rotates the drum when powered. It’s critical to choose a motor that can provide enough torque to spin the drum effectively.
4. Water Spraying Mechanism To enhance the plucking efficiency, you’ll need a water source. Create a spray mechanism inside the drum, directing water towards the chickens during the plucking process. This addition keeps the feathers moist, making them easier to remove.
5. Frame Assembly Construct a sturdy frame that will hold the drum and motor in place. The frame should be high enough for you to operate comfortably and allow for any drainage required during feather removal.
Testing Your Plucker
Once assembled, it’s essential to run a few test trials before using it on actual birds. Check for stability, ensure that the rubber fingers are functioning correctly, and monitor the motor's operation. Adjust any components if there’s any wobbling or misalignment.
Conclusion
Creating a homemade chicken plucker washing machine can enhance your poultry processing experience, making it faster and more effective. Not only does building your own plucker save you money, but it also provides the satisfaction of having crafted a useful tool. With a little effort and resourcefulness, you can streamline the processing of home-raised chickens, ensuring a productive and enjoyable experience. Happy plucking!
-
Hot Sale 24 & 18 Door Rabbit Cages - Premium Breeding Solutions
NewsJul.25,2025
-
Automatic Feeding Line System Pan Feeder Nipple Drinker - Anping County Yize Metal Products Co., Ltd.
NewsJul.21,2025
-
Automatic Feeding Line System Pan Feeder Nipple Drinker - Anping County Yize Metal Products Co., Ltd.
NewsJul.21,2025
-
Automatic Feeding Line System - Anping Yize | Precision & Nipple
NewsJul.21,2025
-
Automatic Feeding Line System - Anping Yize | Precision & Nipple
NewsJul.21,2025
-
Automatic Feeding Line System-Anping County Yize Metal Products Co., Ltd.|Efficient Feed Distribution&Customized Animal Farming Solutions
NewsJul.21,2025


