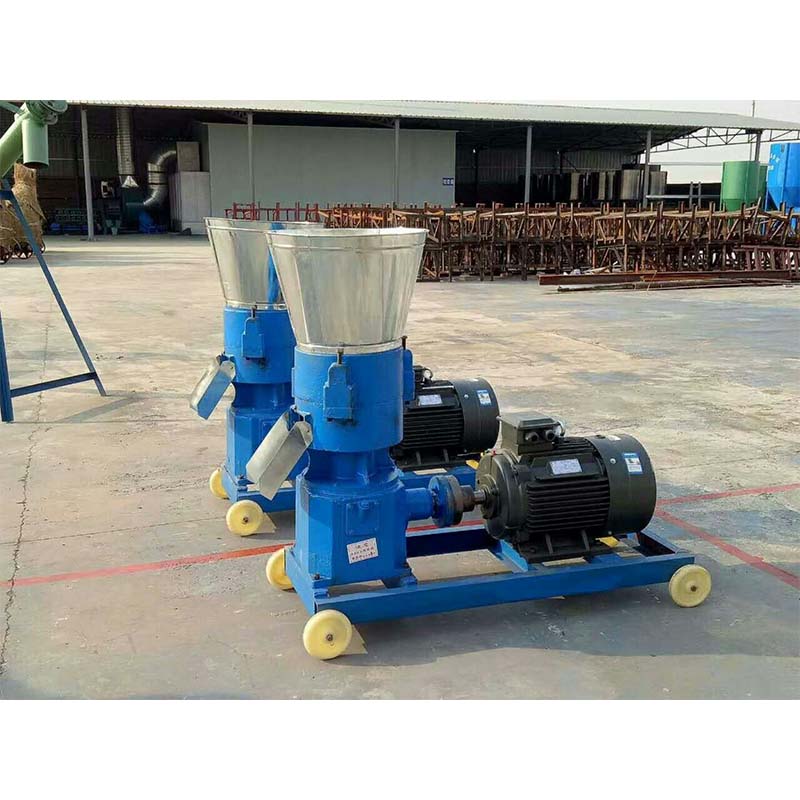
How to Build a DIY Chicken Plucker from a Washing Machine
Sep . 29, 2024 01:33 Back to list
How to Build a DIY Chicken Plucker from a Washing Machine
DIY Chicken Plucker Using a Washing Machine
If you're raising chickens for meat or eggs, you know that one of the most time-consuming and labor-intensive tasks is plucking feathers after slaughter. Traditional methods can be laborious and often result in missed feathers or damage to the skin. However, a DIY chicken plucker using an old washing machine can save time and effort, making the process more efficient. In this article, we’ll walk through the steps to create your very own chicken plucker from a washing machine.
Why Use a Washing Machine?
Old washing machines can often be found for free or at a low cost, making them an accessible starting point for your DIY project. The spinning mechanism of the washing machine mimics the action required for feather removal, providing a fast and effective solution. This method uses rubber fingers or paddles usually made from durable materials like rubber or plastic, which help to remove feathers without damaging the carcass.
Materials Needed
Here’s a basic list of materials you’ll need for this project
1. Old Washing Machine A top-loading model is preferred for easier access. 2. Rubber Bumpers These can be sourced from rubber mats or purchased from a hardware store. 3. Drill and Bits To create holes in the washing drum for attaching the rubber bumpers. 4. Wrench and Screwdriver For disassembling and reassembling the washing machine. 5. Conduit Pipe or PVC This can be used to create an adjustable frame or stand for the machine. 6. Bucket or Container To catch the feathers and residual water. 7. Water Source Hose or plumbing to provide water during the plucking process.
Step-by-Step Instructions
Step 1 Prepare the Washing Machine
Start by disassembling the washing machine. Remove the lid and top course, and then take out the inner drum. Make sure to keep the outer drum intact, as this will help contain the mess during the plucking process.
Step 2 Install the Rubber Bumpers
diy chicken plucker washing machine

Drill holes into the inner drum to attach the rubber bumpers. Space them evenly around the drum, ensuring they are securely fastened. The bumpers should be long enough to make contact with the chicken when it’s inside the drum but not too long as to tear the skin.
Step 3 Reassemble the Machine
Once the bumpers are installed, reassemble the washing machine carefully. Ensure that everything is tightly secured and in place to avoid any malfunction during use.
Step 4 Create a Stand
Build or modify a stand using conduit pipe or PVC to raise the washing machine to a comfortable height. This will make it easier to load and unload chickens and prevent unnecessary bending or straining.
Step 5 Setting Up for Use
Position the plucker outdoors or in a well-ventilated area, as it can get messy. Attach a water source to the machine, allowing you to spray water while the chickens are being plucked to help remove feathers more easily.
Step 6 Plucking Process
To use your chicken plucker, simply place a scalded chicken in the drum, close the lid, and start the machine on a low spin cycle. Add water during this time to help loosen the feathers. After about 30 seconds, stop the machine and check the chicken. If necessary, repeat the process until all feathers are removed.
Conclusion
Creating a DIY chicken plucker from an old washing machine can drastically reduce the time and effort required in processing your home-raised chickens. Not only does it make the task more efficient, but it also adds a touch of innovation to your farming practices. Remember to always prioritize safety when using power tools and machinery. With a little ingenuity, you’ll have a plucking system that serves you well for many harvests to come!
-
Hot Sale 24 & 18 Door Rabbit Cages - Premium Breeding Solutions
NewsJul.25,2025
-
Automatic Feeding Line System Pan Feeder Nipple Drinker - Anping County Yize Metal Products Co., Ltd.
NewsJul.21,2025
-
Automatic Feeding Line System Pan Feeder Nipple Drinker - Anping County Yize Metal Products Co., Ltd.
NewsJul.21,2025
-
Automatic Feeding Line System - Anping Yize | Precision & Nipple
NewsJul.21,2025
-
Automatic Feeding Line System - Anping Yize | Precision & Nipple
NewsJul.21,2025
-
Automatic Feeding Line System-Anping County Yize Metal Products Co., Ltd.|Efficient Feed Distribution&Customized Animal Farming Solutions
NewsJul.21,2025


