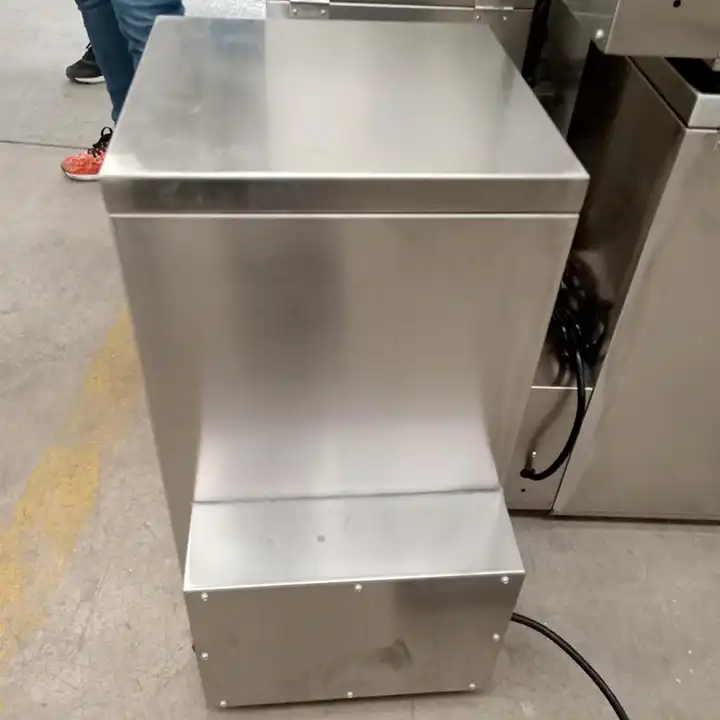
DIY Chicken Plucker Washing Machine - Efficient Poultry Processing
Sep . 06, 2024 16:46 Back to list
DIY Chicken Plucker Washing Machine - Efficient Poultry Processing
DIY Chicken Plucker Using a Washing Machine
If you’re a poultry enthusiast or run a small-scale farm, you know that feather removal can be one of the most time-consuming and tedious parts of processing chickens. However, there’s a clever and resourceful way to tackle this task building a DIY chicken plucker using a washing machine. This project not only saves you time but also turns an ordinary household appliance into a powerful tool for your farming needs.
Materials Needed
To create your chicken plucker, you will need a few essential materials - An old washing machine (preferably the top-loading type) - Rubber fingers (or “pluckers”) - A container to catch feathers - A drill and bits - A strong metal frame or base - Electrical wiring for the motor (if you need to replace or modify it)
Step-by-Step Instructions
1. Prepare the Washing Machine Begin by disassembling the old washing machine, removing the lid and any internal components that can obstruct the plucking process. Take care not to damage the outer casing, as it will serve as the housing for your plucker.
2. Install Rubber Fingers Rubber fingers are crucial for the plucking process as they mimic the action of hand plucking chickens. Secure these fingers around the inner wall of the washing drum. You can use bolts to keep them in place, ensuring they’re evenly spaced to maximize efficiency.
3. Create a Base Building a sturdy base is essential for stability. You can use wood or metal to construct a frame that will hold the washing machine securely in place during operation. Ensure it is at a comfortable working height to avoid strain while you process your chickens.
diy chicken plucker washing machine

4. Rewire the Motor You may need to wire the washing machine motor for continuous operation. This could involve bypassing the standard wash cycle controls. Always prioritize safety; if you’re unsure about the electrical work, consult a professional.
5. Setup Feather Collection Position a container beneath the drum to catch all the feathers being plucked. This not only makes clean-up easier but also ensures that your workspace remains tidy.
6. Test the Plucker Before using it on live birds, run a few tests with feathers or similar materials to ensure the plucker works effectively. This allows you to make any necessary adjustments without wasting time or causing unnecessary stress to the animals.
Using Your DIY Chicken Plucker
Once everything is set up, you can start the plucking process. Place a scalded chicken into the machine, turn it on, and let the rubber fingers do their job. Most chickens can be fully plucked in just a matter of minutes, drastically reducing processing time and effort.
Conclusion
Creating a DIY chicken plucker using a washing machine is an excellent project for those looking to streamline poultry processing. By repurposing an old appliance, not only do you save money, but you also enhance your farming efficiency. With a bit of creativity and some basic tools, you can enjoy a more effective way to process your chickens while ensuring they are handled humanely and efficiently. Happy plucking!
-
Automatic Feeding Line System-Pan Feeder Nipple Drinker|Anping County Yize Metal Products Co., Ltd.
NewsJul.29,2025
-
Hot Sale 24 & 18 Door Rabbit Cages - Premium Breeding Solutions
NewsJul.25,2025
-
Automatic Feeding Line System Pan Feeder Nipple Drinker - Anping County Yize Metal Products Co., Ltd.
NewsJul.21,2025
-
Automatic Feeding Line System Pan Feeder Nipple Drinker - Anping County Yize Metal Products Co., Ltd.
NewsJul.21,2025
-
Automatic Feeding Line System - Anping Yize | Precision & Nipple
NewsJul.21,2025
-
Automatic Feeding Line System - Anping Yize | Precision & Nipple
NewsJul.21,2025


