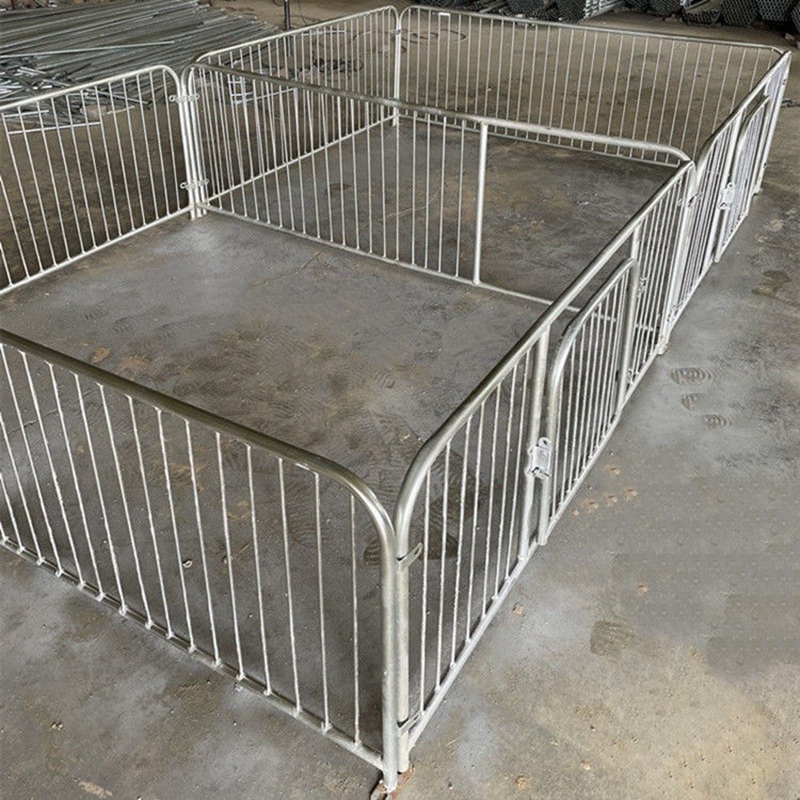
chicken wire rabbit cage
Nov . 24, 2024 13:23 Back to list
chicken wire rabbit cage
Building a Chicken Wire Rabbit Cage A Comprehensive Guide
Creating a suitable habitat for your rabbits is crucial for their well-being, and using chicken wire to construct a rabbit cage is an effective and affordable solution. Chicken wire provides a safe enclosure that allows for appropriate ventilation while keeping your pets secure. In this guide, we’ll discuss the benefits of using chicken wire, the design considerations for your rabbit cage, and the essential steps to build one.
Benefits of Chicken Wire
Chicken wire, also known as hexagonal wire mesh, is a versatile material that is widely used in gardening and animal husbandry. Its strength and durability make it an ideal choice for a rabbit cage. One of the key advantages of chicken wire is its lightweight nature, making it easy to work with. Additionally, its open structure ensures adequate airflow, which is vital for keeping your rabbits comfortable in various weather conditions. Furthermore, chicken wire is typically more affordable than solid metal or wood options, making it accessible for pet owners on a budget.
Design Considerations
Before you begin construction, there are several design considerations to keep in mind. Firstly, think about the size of the cage. Rabbits require space to hop around and stretch their legs. A minimum size of 4 feet by 2 feet is recommended for a small rabbit, with larger breeds requiring more room. It’s also essential to include a raised area within the cage where rabbits can feel safe and secure, as they naturally seek out higher ground.
You should also consider the location of the cage. Place it in a shaded area to protect your rabbits from direct sunlight, as overheating can be a significant threat. Additionally, ensure that the cage is elevated off the ground to prevent dampness from seeping in and to deter predators.
Tools and Materials
To build your chicken wire rabbit cage, you will need a few basic tools and materials. Here’s what you’ll need
chicken wire rabbit cage

- Chicken wire (preferably with a 1-inch gap to prevent rabbits from escaping) - Wooden boards or metal framing for the structure - Wire cutters - Hammer and nails or a staple gun - A saw (if you need to cut wood) - A measuring tape - Hinges and a latch for the door
Step-by-Step Construction
1. Frame the Cage Start by constructing a rectangular frame using the wooden boards. Be sure to create a sturdy base that can support the weight of the rabbits and the materials.
2. Attach the Chicken Wire Cut the chicken wire to size, allowing an extra inch on each side for securing it to the frame. Use a staple gun or nails to attach the chicken wire, ensuring it is tightly pulled to prevent any gaps.
3. Build the Roof For added protection, construct a lid for the cage using chicken wire. This will ensure that your rabbits are safe from aerial predators.
4. Create a Door Cut out an access point on one side of the cage and attach a wooden door frame with hinges. Use a latch to secure the door and prevent escape.
5. Add Accessories Inside the cage, provide shelter, bedding, food, and water containers. Consider adding a hay rack or a chew toy to keep your rabbits entertained.
6. Finalize the Setup Once everything is in place, double-check for any sharp edges that could harm your rabbits. Smooth out any rough spots and ensure that there are no loose wires.
By following these steps, you can create a safe and comfortable environment for your rabbits using chicken wire. This DIY project not only enhances your pet's quality of life but also offers a rewarding experience for the owner, fostering a bond with your furry companions. Whether your rabbits are indoor or outdoor pets, a well-built chicken wire cage is an essential aspect of responsible pet ownership.
-
Hot Sale 24 & 18 Door Rabbit Cages - Premium Breeding Solutions
NewsJul.25,2025
-
Automatic Feeding Line System Pan Feeder Nipple Drinker - Anping County Yize Metal Products Co., Ltd.
NewsJul.21,2025
-
Automatic Feeding Line System Pan Feeder Nipple Drinker - Anping County Yize Metal Products Co., Ltd.
NewsJul.21,2025
-
Automatic Feeding Line System - Anping Yize | Precision & Nipple
NewsJul.21,2025
-
Automatic Feeding Line System - Anping Yize | Precision & Nipple
NewsJul.21,2025
-
Automatic Feeding Line System-Anping County Yize Metal Products Co., Ltd.|Efficient Feed Distribution&Customized Animal Farming Solutions
NewsJul.21,2025


